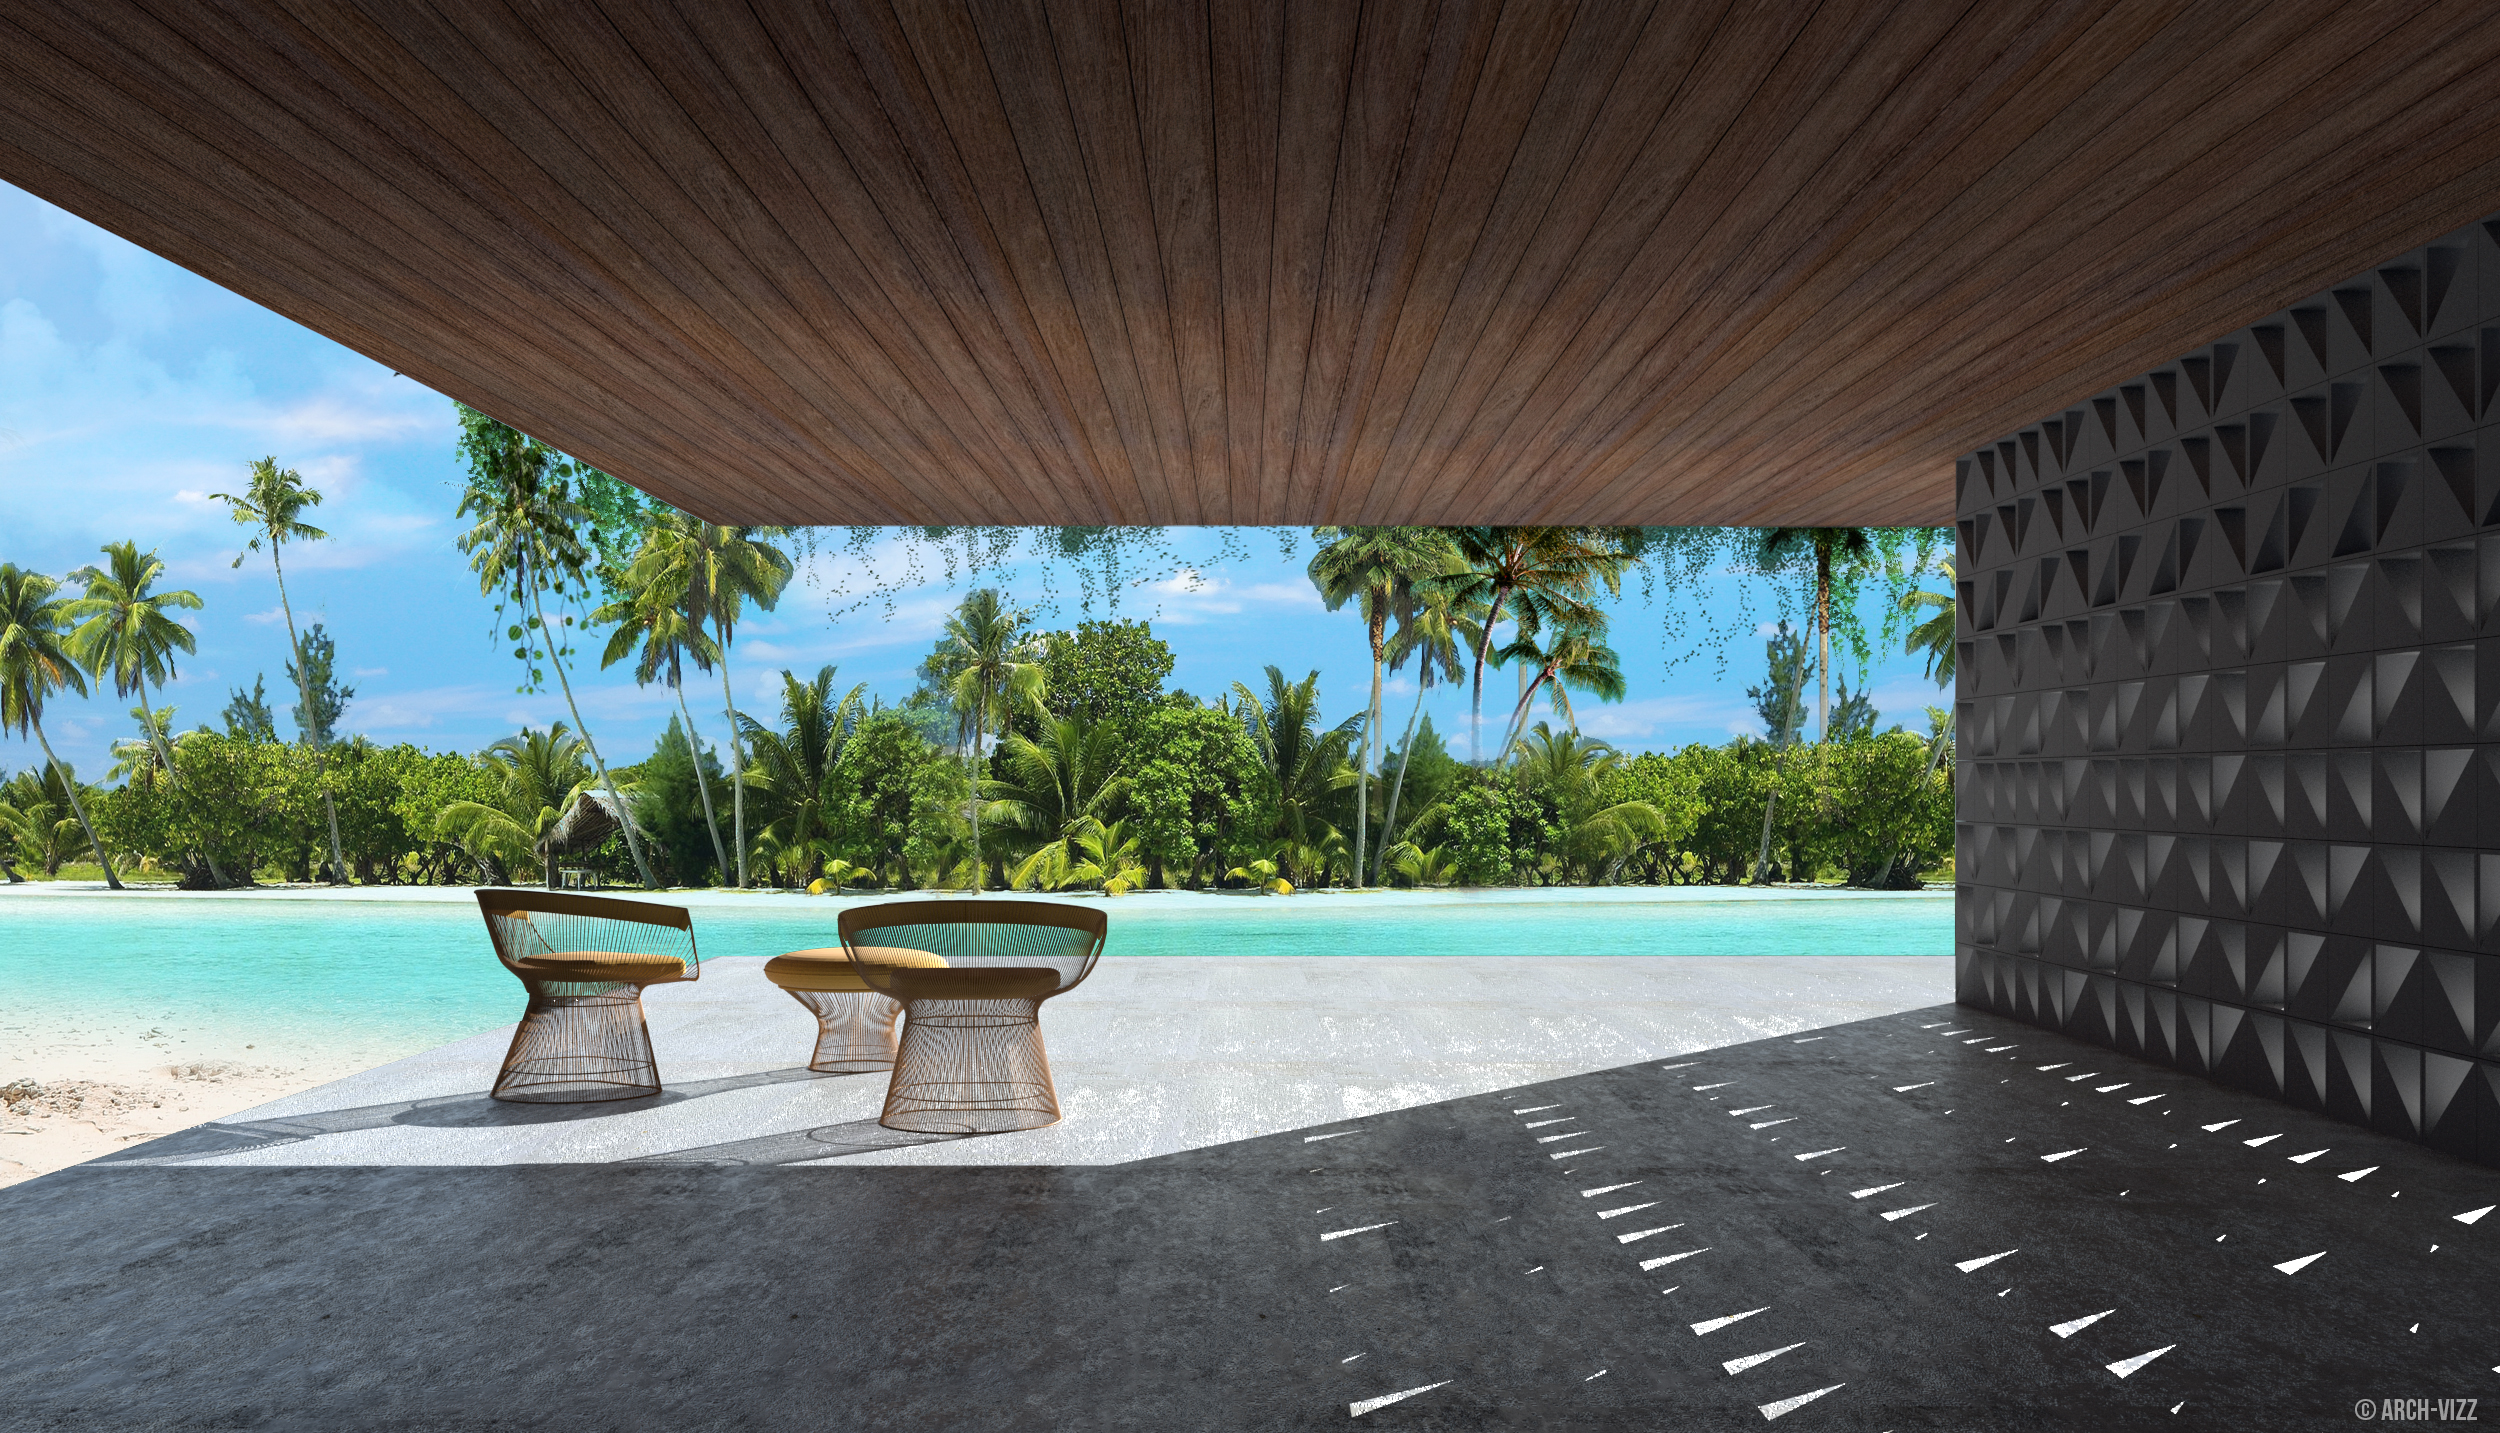
TROPICAL PARADISE
QUICK DAYLIGHT RENDERING
For this tutorial, we'll be creating this image in very few steps. If you spend some time in V-ray, getting the mapping of the materials correctly, post-production in Photoshop should be very simple.
The composition will be very similar to the previous 'Black & White Winter' post but with the introduction of a simple overall color pallete.
1 | BASE IMAGE
I modeled just a few elements for the base, and focused my time on getting some basic mapping to the objects. Make sure V-ray renders the verticals parallel to the picture plane (simply type 'vrayCamGuessVertical').
RGB
Lighting
Shadows
Material ID
2 | WORKFLOW
A | BACKGROUND
The base image already has a lot of texture from V-ray. So most of the time was spent in creating a nice background scene for this view.
I started with an image of the ocean with a little bit of sand texture in the foreground, but decided to add an island of palms to create a more intimate space.
B | LANDSCAPE DETAILS
Details are essential in creating a good rendering. Spend time adding texture to your image. In this case, I added a few vines to the roof, giving more movement to the image and merging the foreground and background.
With very little Photoshop work, the image already looks almost done! Now we just need to fix the lighting and add a person occupying the space for the image to really come together!
RGB Export from Rhino with basic V-ray texture
Landscape collage in Photoshop
Rhino base image and Landscape collage combined
C | LIGHTING
Adjusting the lighting is something you can do at any point. Be aware of where your light source is coming from and create your shadows and values accordingly.
D | ENTOURAGE
Adding a person helps bring life to your image. Make sure you're not introducing any new colors that don't go with the image. Also, pay attention to their outfit and what mood you want to create.
In this case, her hair color, as well as skin tone help bring some of the warm colors from the wood ceiling to the lower left side of this view.
E | POST-PRODUCTION
Spend some time here. Adjust your values, color correction, bright vs dark areas, etc.
This is where all your elements come together!
Here is a collection of more renderings for you to get inspired from. Check it out on Pinterest! *
Any questions or suggestions? Leave a comment!
*These examples are for graphic inspiration only. Their contents are unrelated to this website.
Renderings and Tutorial by Stefani Fachini


