NIGHT RENDERING
NIGHT RENDERING STEP BY STEP
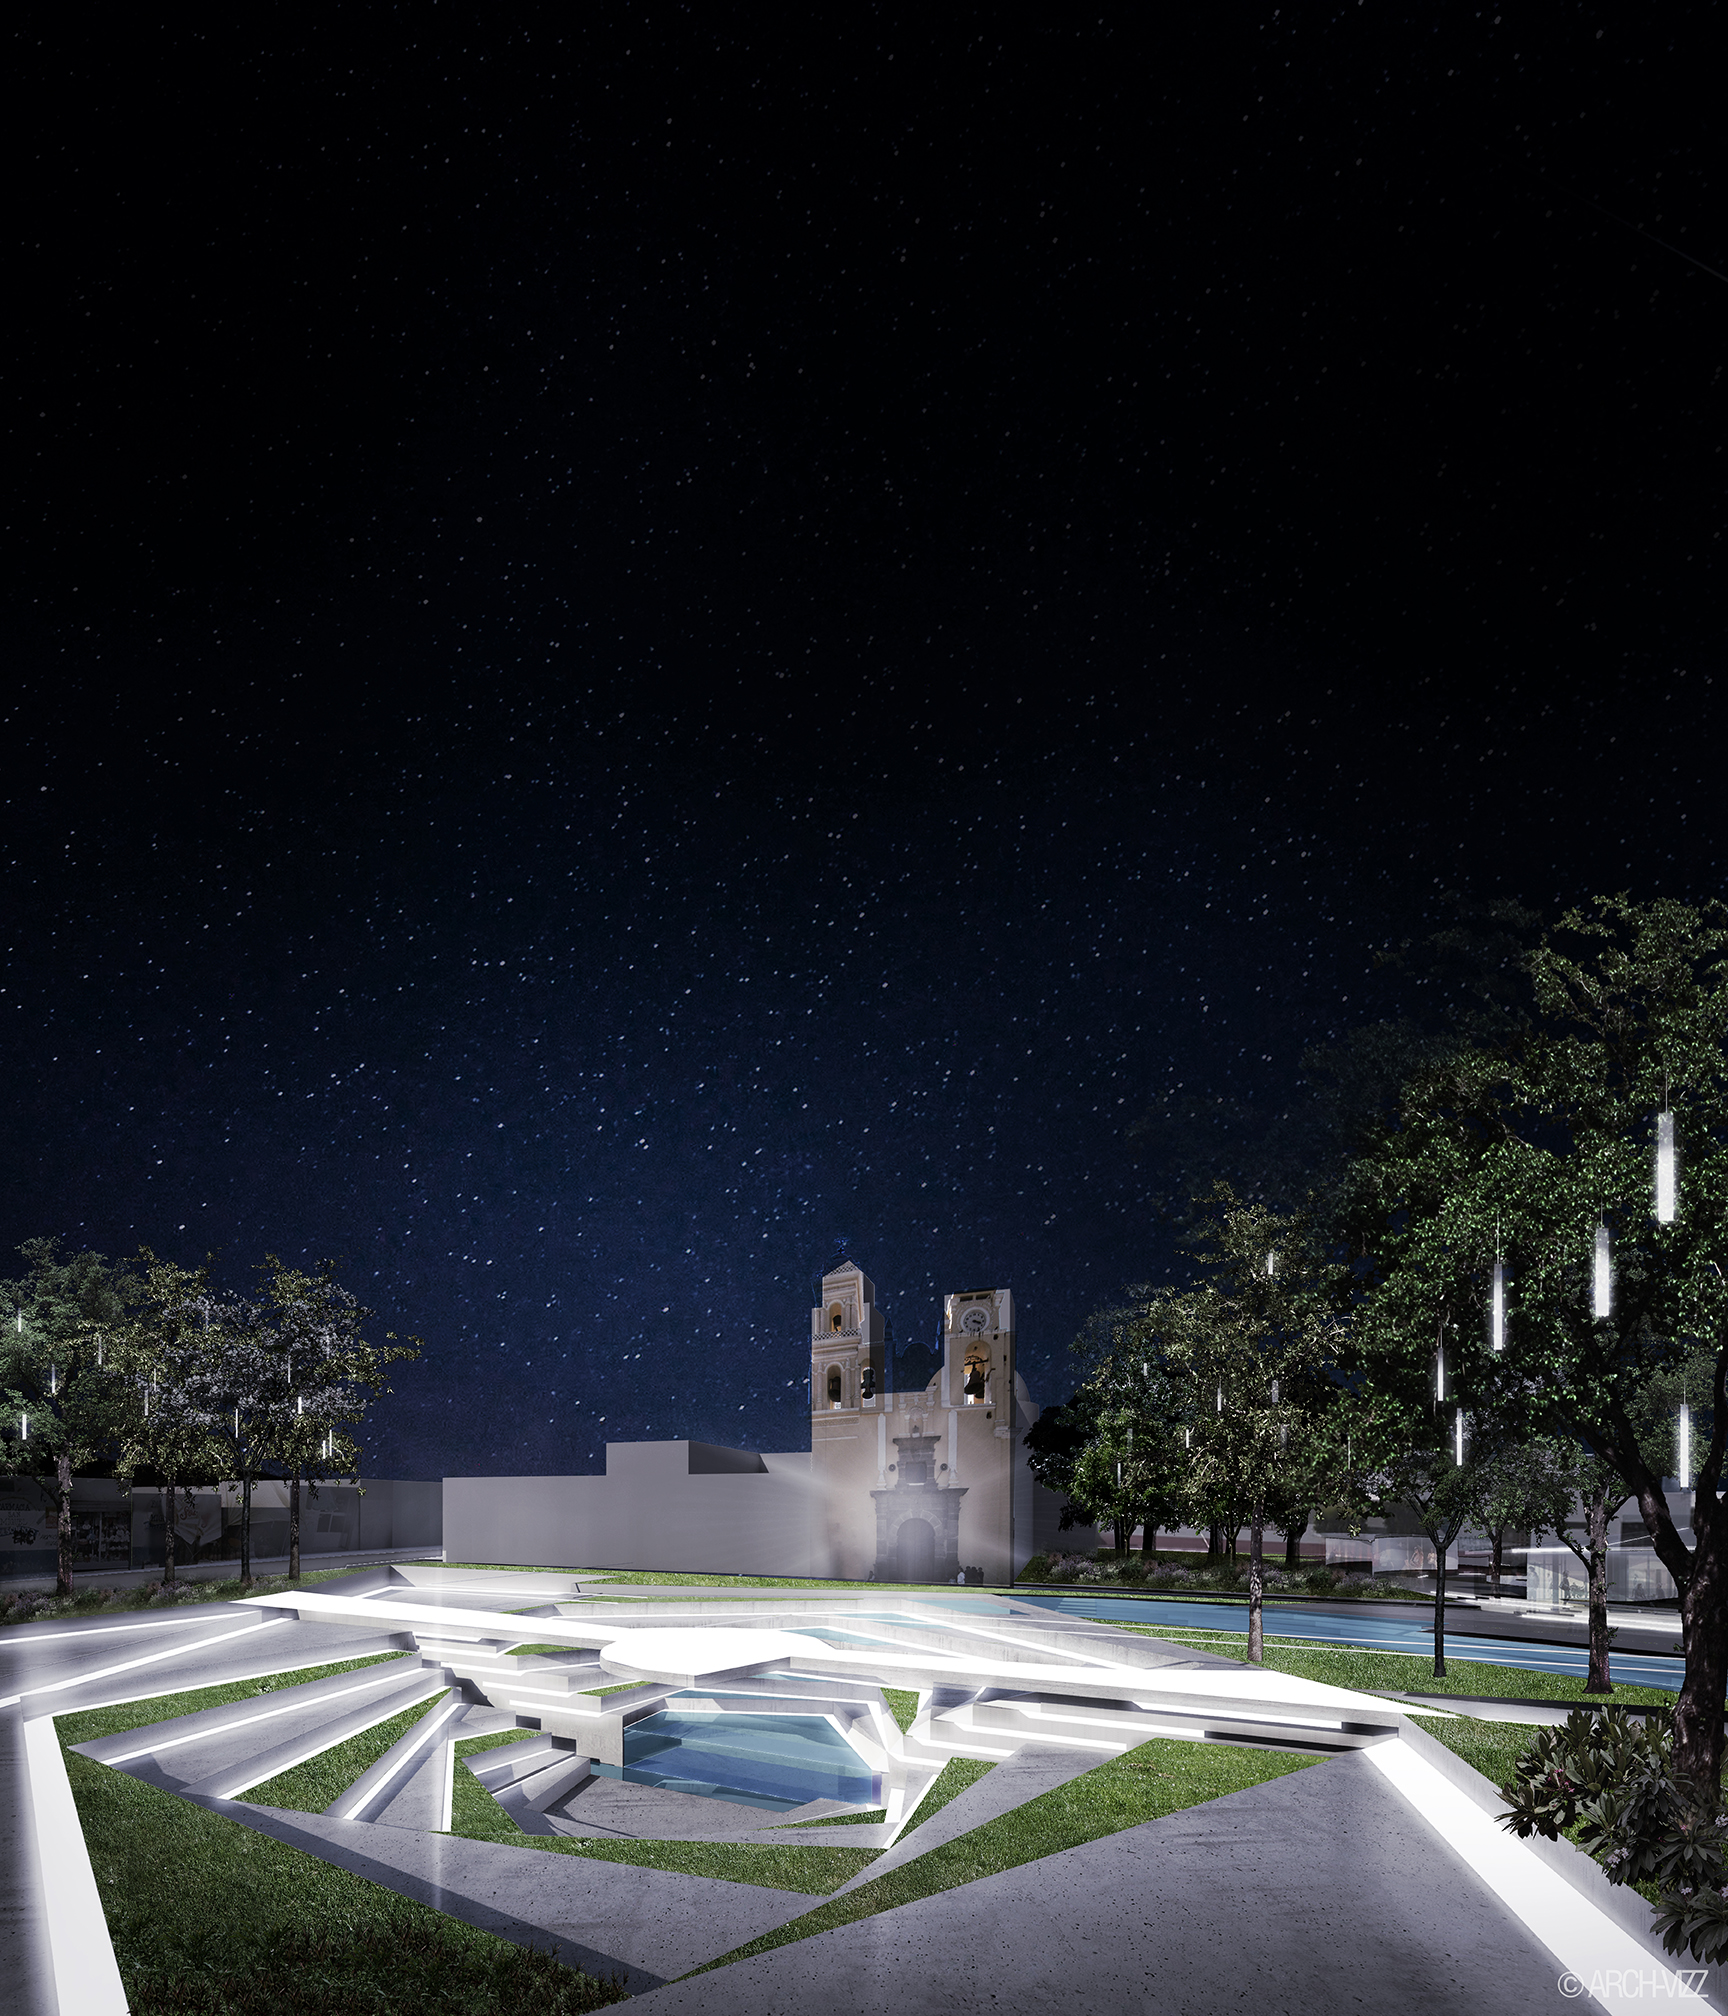
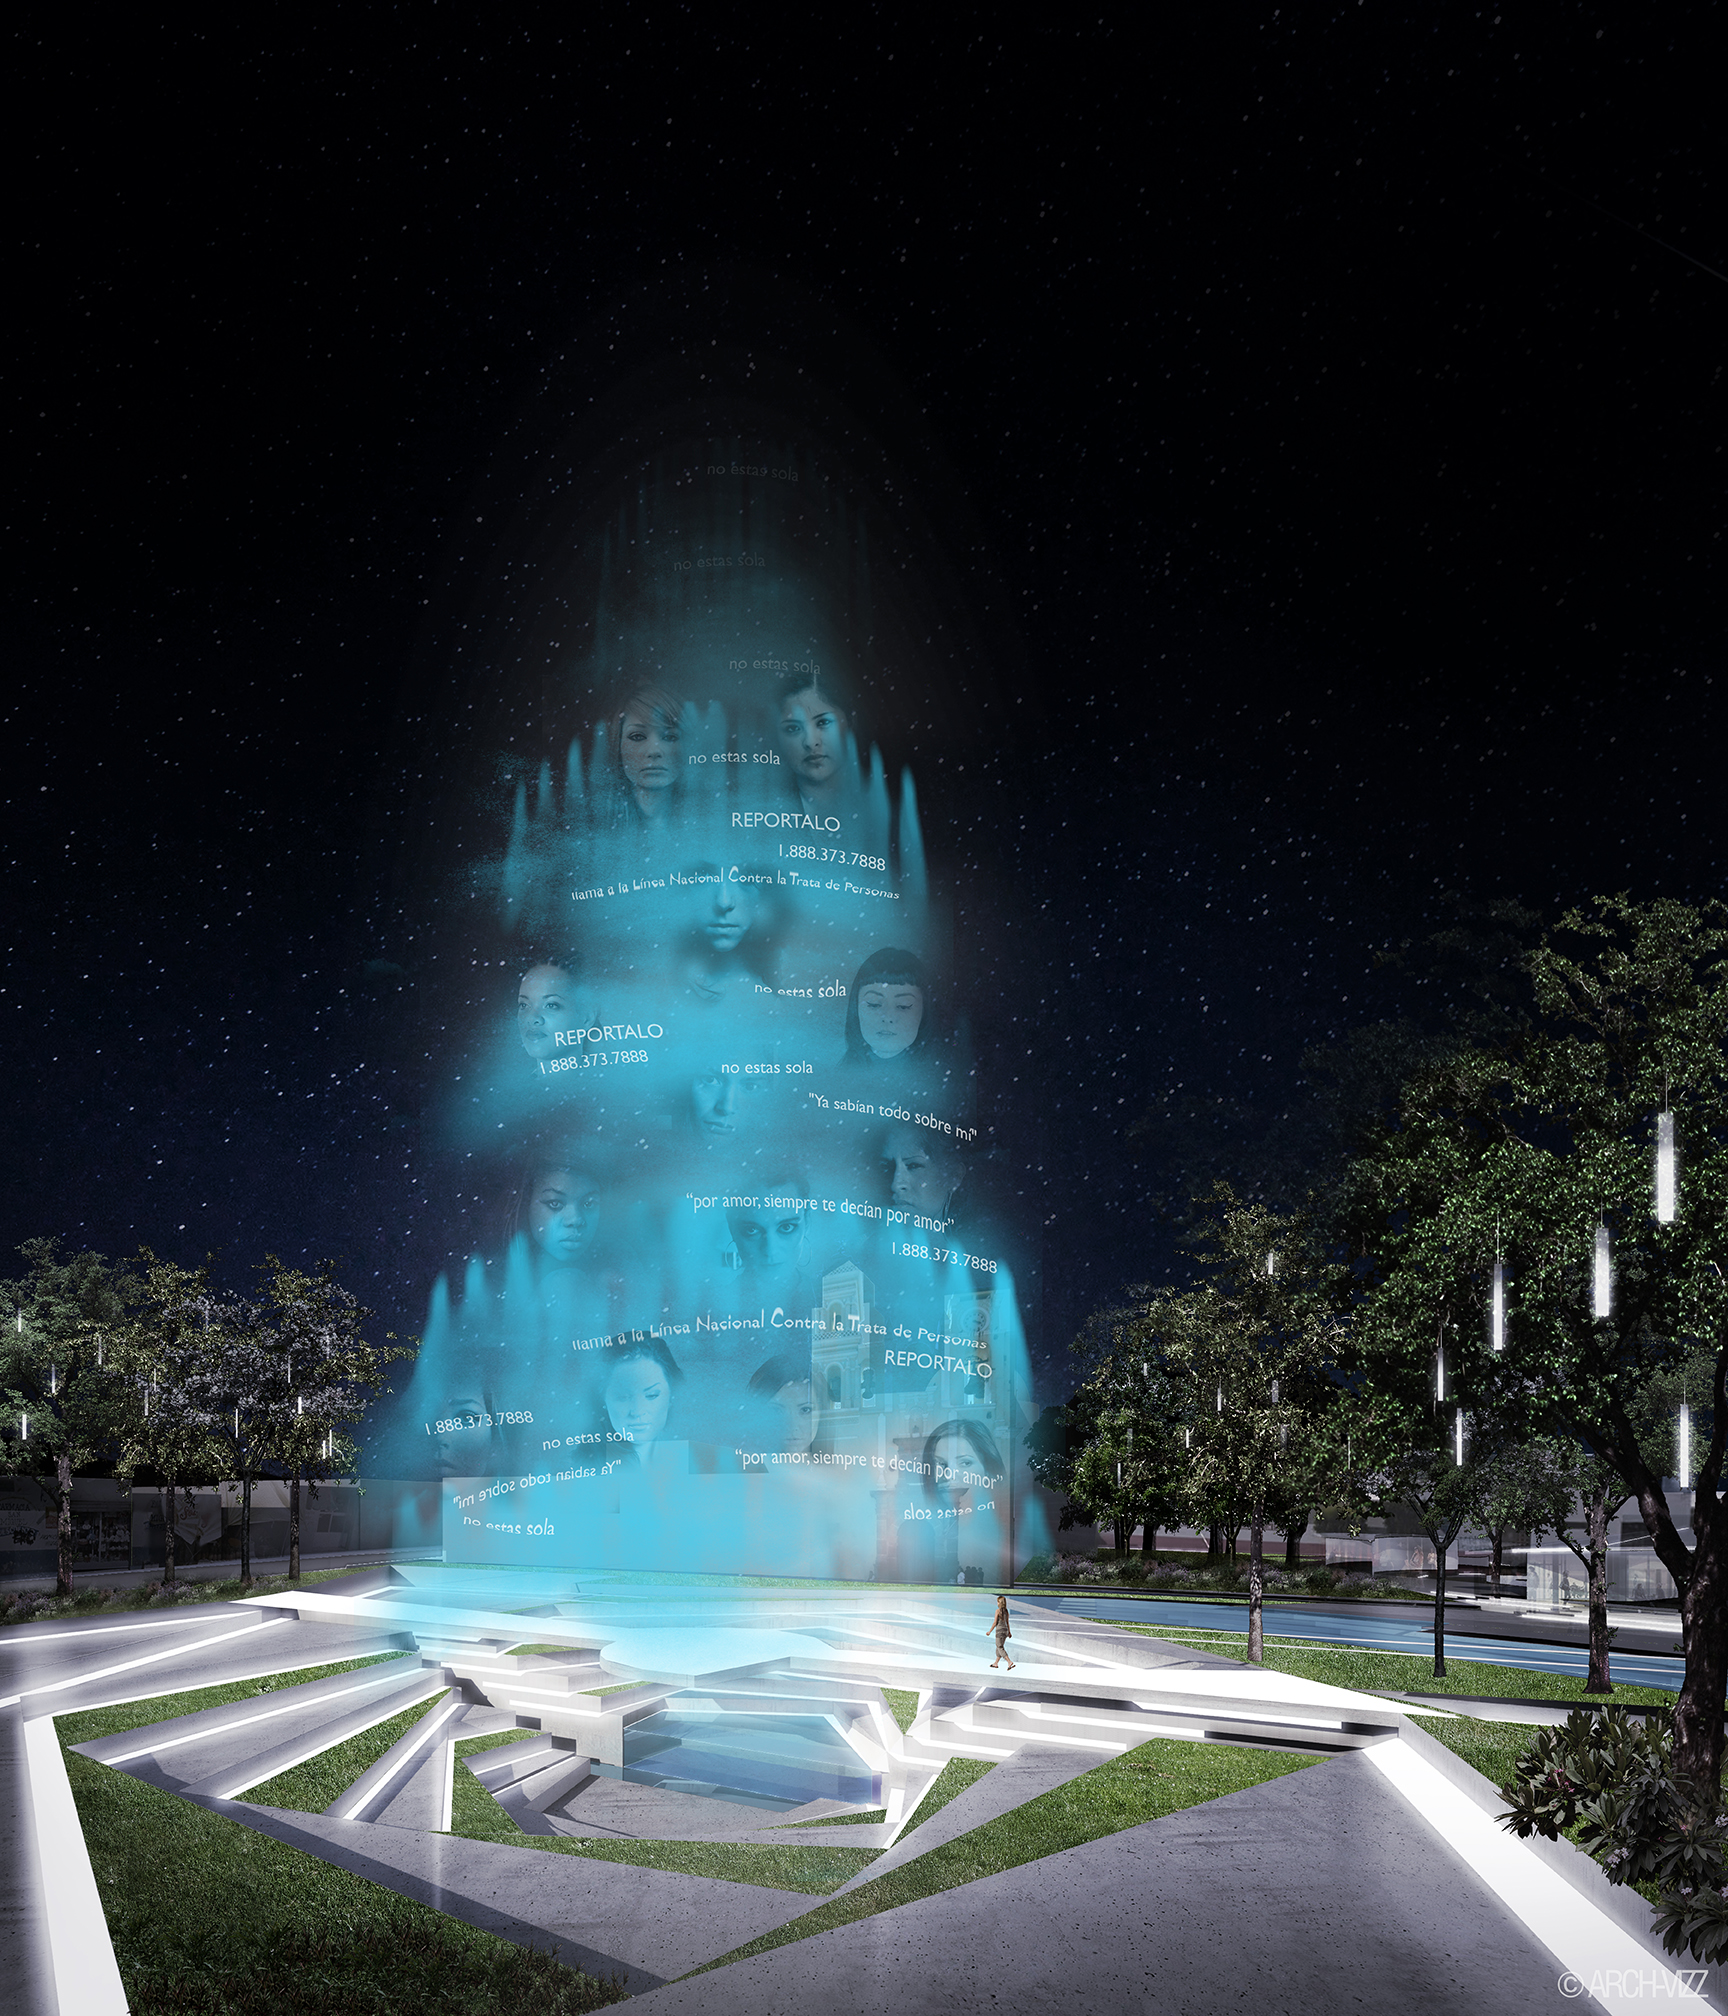
This image was created for a mediascape design. The goal was to create a powerful rendering showcasing the lighting, the concept. and how the space would be experianced at night. Here is how it got there:
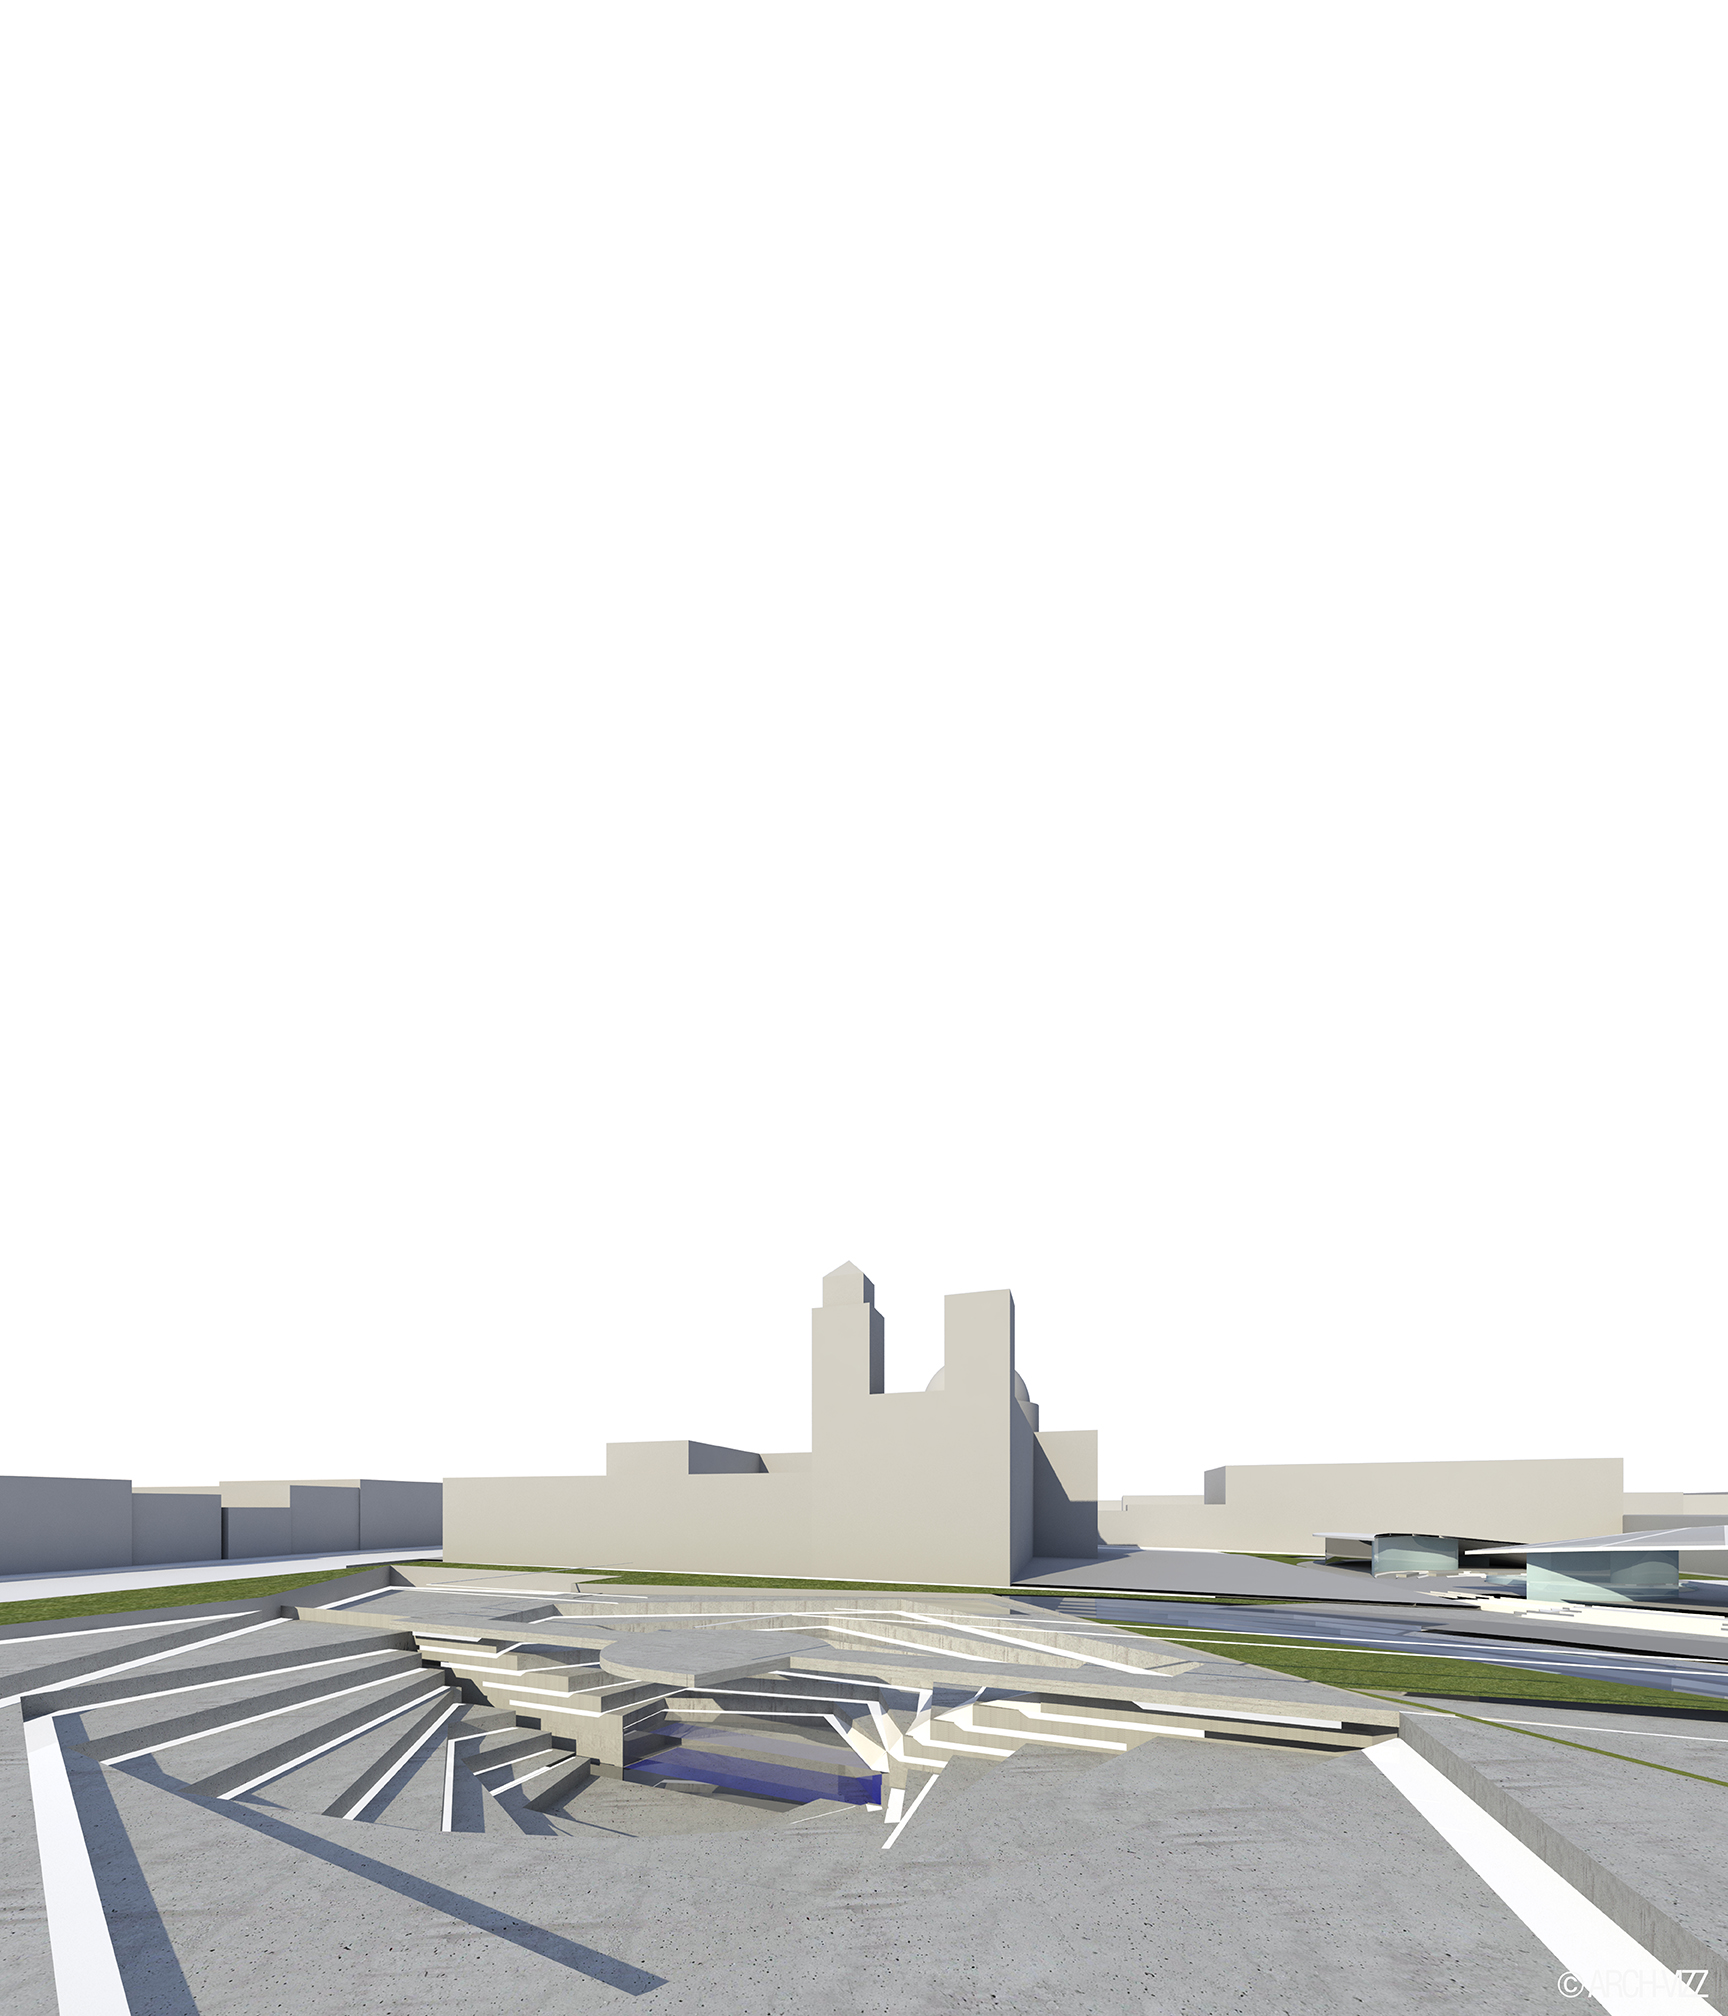
1 | BASE IMAGE
RGB Rendering
Render ID
Material ID
2| SKY & BASIC LIGHTING
To emphasize the main mediascape and let the lower part of the image be the focal point, I chose a sky with a gradient - darker at the top and brighter towards the bottom.
3 | texture
I added a very basic texture to the context since most of it will be covered by the entourage. The context imagery was taken from screenshots of google street view.
3 | Landscape
Getting the scale and lighting of the landscape right is what gives this image a clear background, midground and foreground.
5 | LIGHTING II
This is a night rendering so adding purple, gray and blue tones gives it a nightime mood.
6 | SMOKE
The smoke was created using a few photoshop brushes, cutouts for the women's face and some text. The text was warped (transform tool), following the shape of the smoke.
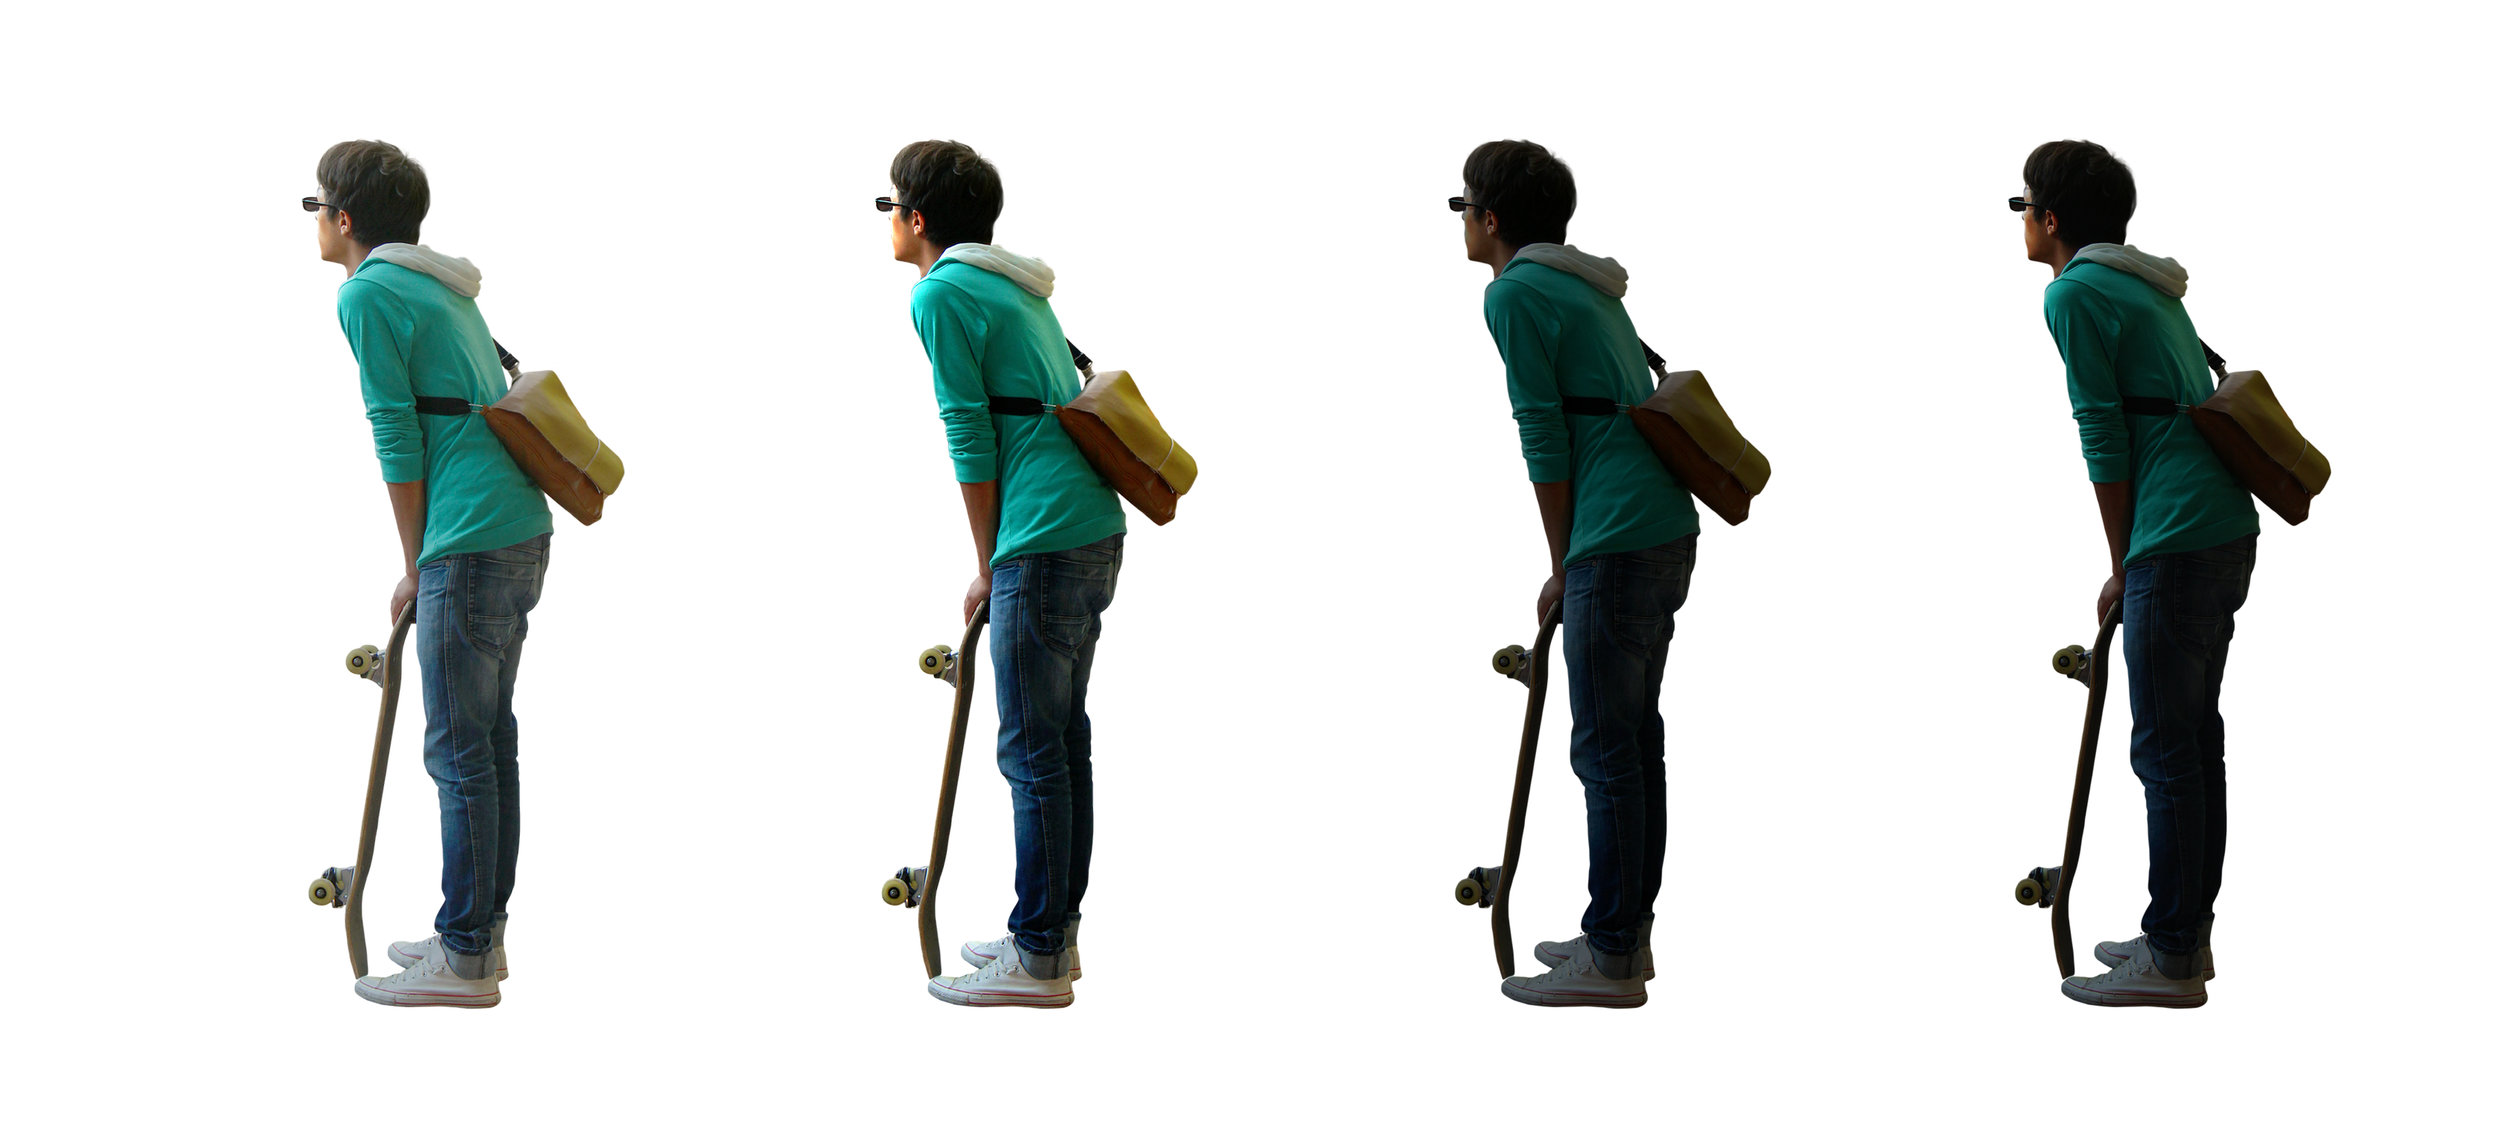
7 | ENTOURAGE
Don't forget to alter the lighting on the objects to tie them into your image.
8 | details & color adjustment
The color adjustment really helps bring the image together by adding the blue lighting coming from the smoke sculpture to all the other elements.
Here is a collection of more Night Renderings for you to get inspired from. Check it out on Pinterest! *
Any questions or suggestions? Leave a comment!
*These examples are for graphic inspiration only. Their contents are unrelated to this website.
Renderings and Tutorial by Stefani Fachini


