LUIS BARRAGAN IN THE DESERT
TAP INTO YOUR ARTISTIC SIDE...
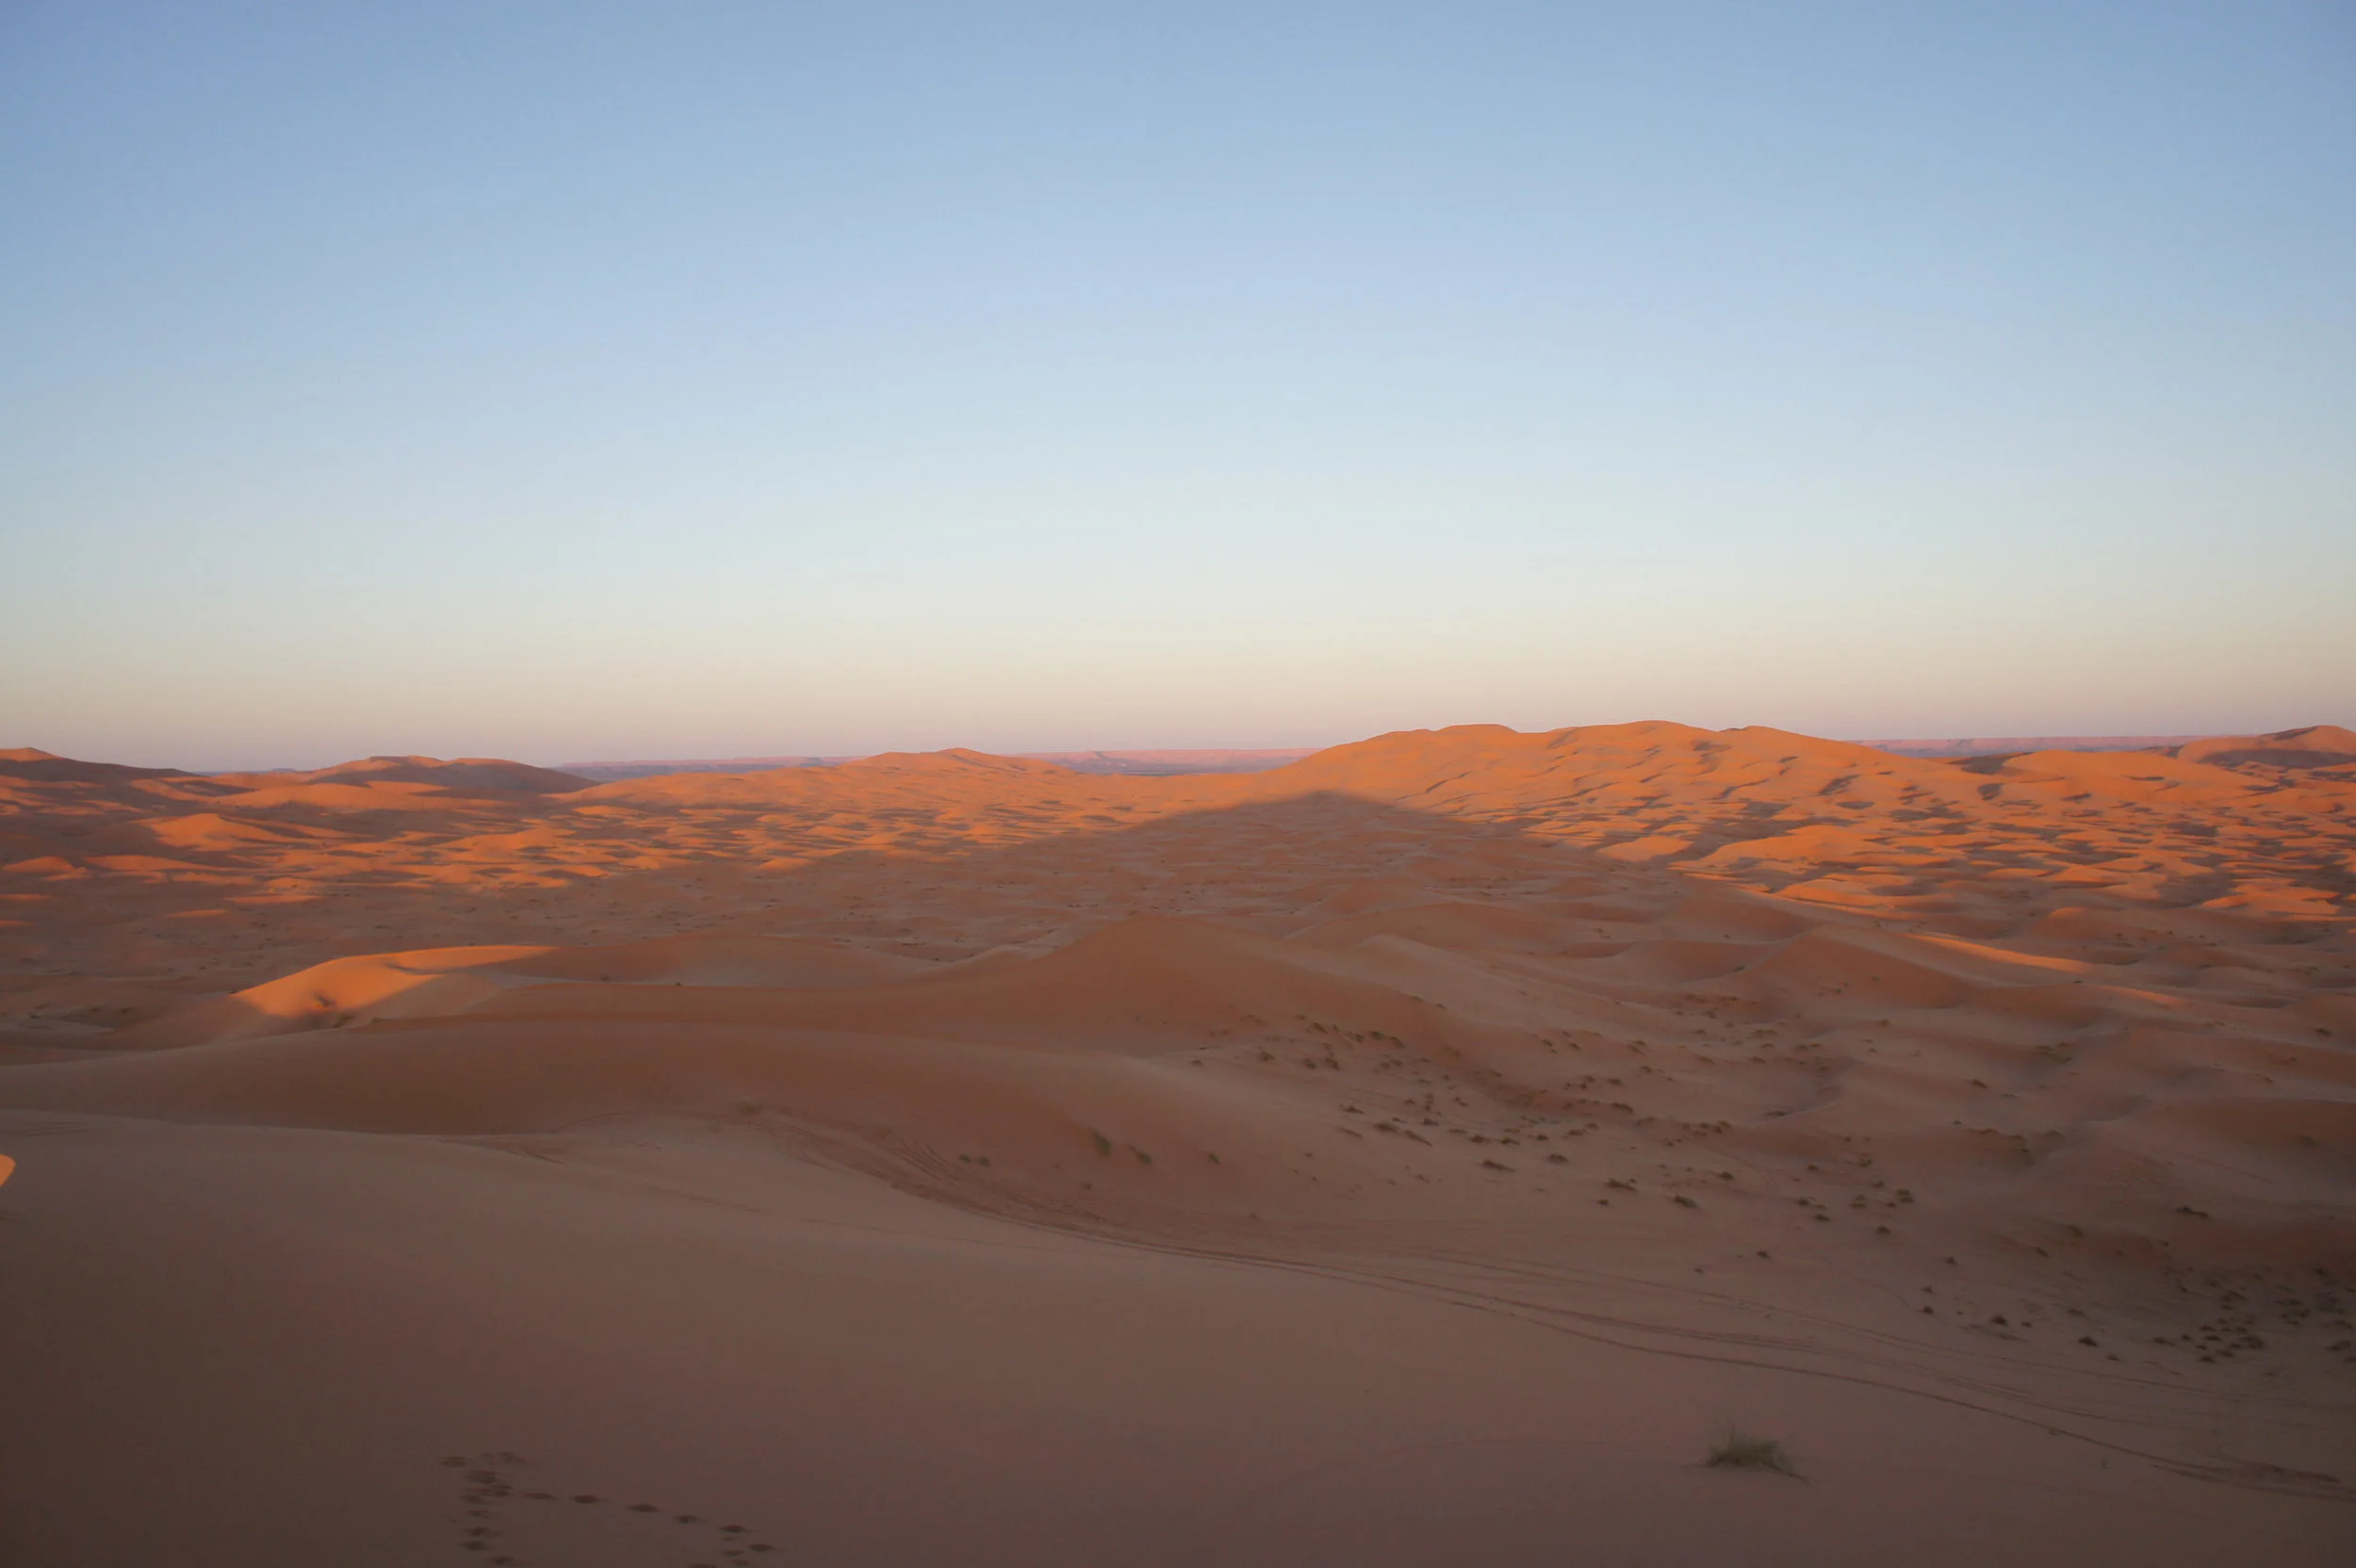
For this tutorial I used Luis Barragan's iconic satellite towers, originally located in Mexico City. To create a surrealist-inspired image, I dropped them in a desolate desert. Here's a break down of how to create an image like this:
1 | RHINO MODEL SET UP
The rhino model consists of simple triangular extrusions of the Satellite Towers sculpture, a warpped surface for topography, sunlight, and a camera.
2 | RHINO RENDERING EXPORT
RGB Rendering
Matte Shadow
Render ID
3 | ENTOURAGE
Below are the various images collaged together to create the final rendering.
5 | POST-PRODUCTION WORKFLOW
A | POST-PRODUCTION BASE
The image could be ready, but it lacks contrast and a focal point. The post-production workflow will show you how to fix this!
B | SEPIA OVERLAY
Sepia > Overlay blending mode > Change transparency
This will immediately give contrast to your image, bring the transparency of this layer down, to control the sepia overlay effect.
C | DODGE & BURN i
Adjust the contrast in specific areas with the dodge and burn tool. Keep the exposure to less than 15% so this tool doesn't saturate certain areas of your image.
D | CAMERA RAW
Adjust the Vibrance and overall lighting.
E | BLACK & WHITE OVERLAY
Hue/Saturation > Overlay blending mode > Change transparency
This will help you focus the saturation to certain areas.
F | LEVELS
C | DODGE & BURN i
Repeat the dodge & burn step as many times as you need to make sure you have the right movement to the image.
Luis Barragan is one of my favorite Architects. Click here to learn more about him and his work: Casa Luis Barragan *
Any questions or suggestions? Leave a comment!
*These examples are for graphic inspiration only. Their contents are unrelated to this website.
Images and Tutorial by Stefani Fachini


